BUDGET PC CONFIGURATION FOR PHOTO AND 4K VIDEO EDITING FOR ONLY 700 USD
Home » Budget PC for photo and 4K video editing only for 700 USD
Full disclosure from the beginning – up to this point I have personally edited my photos and videos on a laptop. Why did I decide to take the step and switch to a desktop computer? Years ago, when I started to do photography and had to look for a computer to edit all my photos, I decided to get a laptop. The main reason was the mobility of the laptop. The ability to travel and edit pictures pointed me in this direction. Then again, I threw in a pretty solid amount for a laptop because powerful laptops are much more expensive than a desktop computer. The configuration was – Intel Core i7 (4 cores), 8GB Ram, Radeon Graphics Card 2GB, 1TB hard drive, etc. Pretty good configuration 7 years ago.
Then, with the advancement of technology and Photoshop, I had to upgrade it several times, because even with these features, the laptop was crashing. First I added an SSD on which I install the operating system and programs. Then I added another 8GB of RAM to make it a total of 16GB. And that was it. Upgrades to a laptop are much more limited than for desktop computers. And after I decided to start doing video editing as well my laptop started to die, as powerful as it was. HD video processing was ok, but everything above that was just torture. Not to mention the 4K video.
We get to the point when I decided to switch to PC for photo and video editing:
- with the same performance, components and features, the desktop PC has much better performance
- there is a high risk of overheating at a higher load on the laptop, which has always happened to me
- upgrade option – most PC configurations, if well thought, provide a good upgrade opportunity and will serve you for many years to come
- lower price – usually, if you have to get a laptop with the same configuration as a desktop the price is much higher
So basically – after a few days of searching and exploring, I settled on the following computer configuration for photo and video editing:
PC configuration for photo and 4K video editing
- D 7 2700X 3.7GHZ 8CORE, 16THREADS – PRICE: 189 USD
- Video card: KFA2 NVIDIA GEFORCE GTX 1070 8GB – PRICE: 170 USD (used)
- RAM: ADATA XPG D10, 8GB DDR4, 3000 MHz, CL16 x 2 – PRICE: 86 USD
- Motherboard: GIGABYTE B450 AORUS M, SOCKET AM4 – PRICE: 85 USD
- SSD: HP EX900, 250GB, M.2 2280 – PRICE: 40 USD
- Hard Disk: HDD Seagate BarraCuda 3.5”, 4TB, 5400 об/мин, 256MB, SATA3 – PRICE: 100 USD
- Power supply: SEGOTEP GTR-550, 550W, PFC ACTIV – PRICE: 34 USD
- Case: SEGOTEP HALO 3, MIDDLETOWER – PRICE: 34 USD
TOTAL PRICE OF THE CONFIGURATION: 704 USD
ADDITIONAL
- Keyboard: CANYON – CNS-HKB2-BG – PRICE: 10 USD
- Mouse: SERIOUX PASTEL 3300 – PRICE: 5 USD
- Monitor: EIZO EV2316W – PRICE: 65 USD (used)
*Please note that all prices are at the time of purchase and are subject to change at any time.
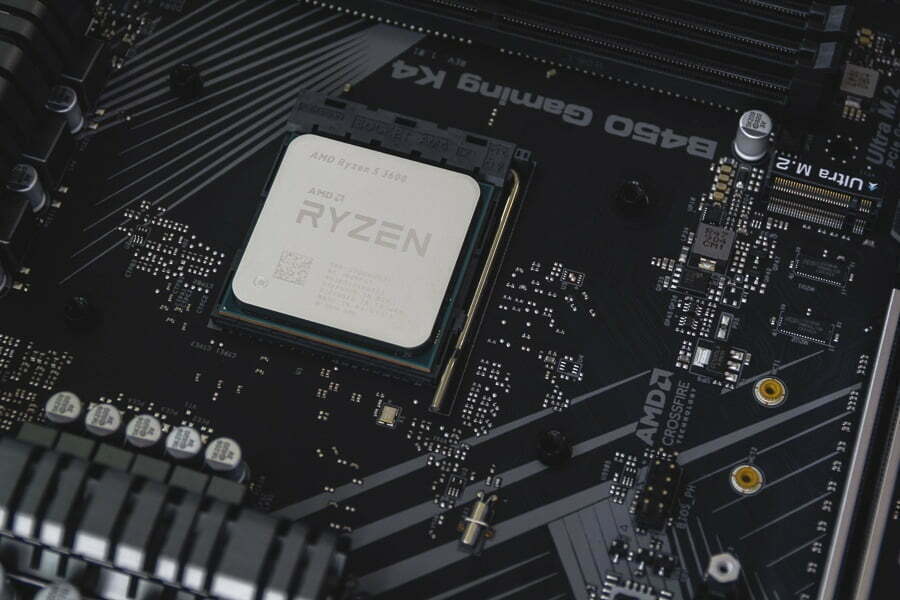
PROCESSOR: AMD RYZEN 7 2700X 3.7GHZ, AMD RYZEN 7 2700X 3.7GHZ 8CORE
After a lot of reading, I found out that at least for the time being the processor is the most important part for video editing. Especially if you’re going to use Adobe Premiere Pro. Some other video processing software is increasingly relying on the video card and its capabilities (eg Davinci Resolve). Overall, from my research, I discovered that the desire is to use more and more video card capabilities for video editing in the future, but for the time being, the processor still plays a major role.
Firstly why I opted for AMD instead of Intel – the main reason was the price. An Intel processor with the same performance is much more expensive, and the performance is not much higher.
I chose this AMD RYZEN 7 2700X processor because it offered the best price/performance ratio for the moment. The other option I was considering was the RYZEN 5 3600 – which is the next generation of AMD processors and with slightly better performance, for a lower price. But I still chose the AMD RYZEN 7 2700X because it has 8 cores and 16 logic cores (16 Threads) compared to 8 cores and 12 threads on the RYZEN 5 3600. And after a brief research, I found out that these threads are very important for video editing. The price of AMD RYZEN 7 2700X at the time of purchase (15/03/2020) was 189 USD including delivery.
VIDEO CARD: KFA2 NVIDIA GEFORCE GTX 1070 8GB
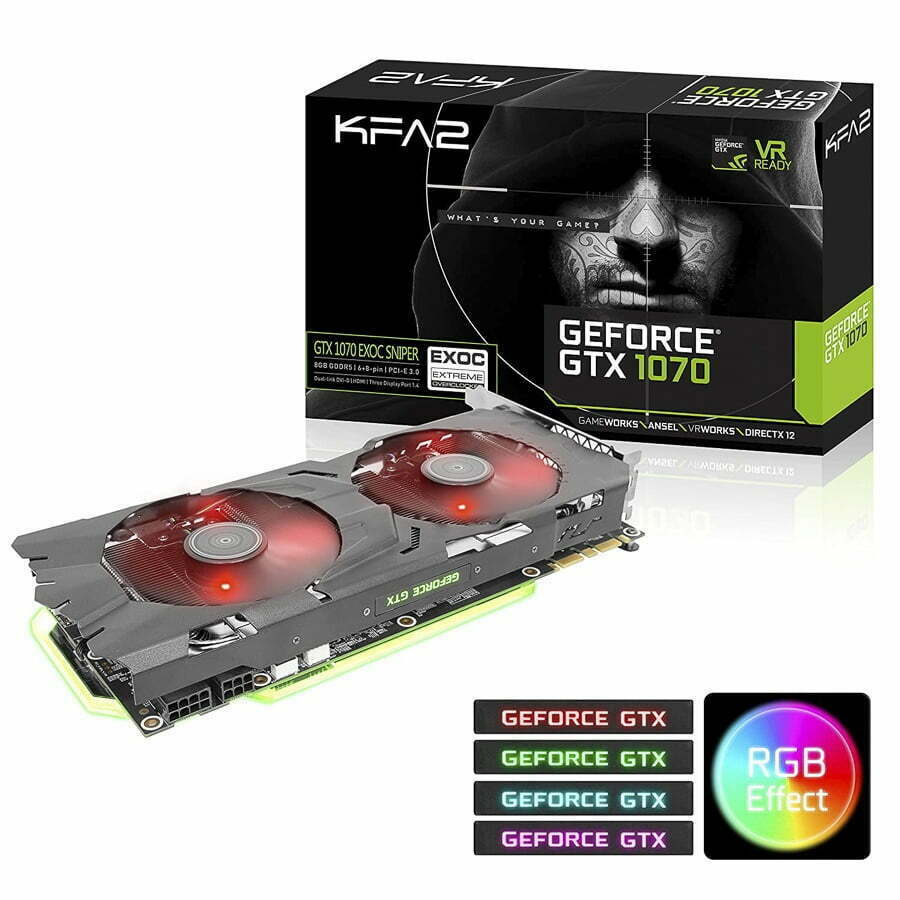
Video card – the second most important component in assembling a computer for photo and 4K video editing. The truth is, I was initially checking the XFX RADEON RX 580 8GB GTS XXX ED video card, mostly because of the price and good performance. But after a small research, I decided it was better to get an nVidia video card with the same parameters, but second-hand, of course, since nVidia video cards are significantly more expensive. So I decided to get used KFA2 NVIDIA GEFORCE GTX 1070 8GB video card.
The main reason to change my mind was mainly because of the so-called CUDA cores on GEFORCE cards and their ability to be utilized in video rendering. As far as I understand, CUDA cores are microprocessors in the video card itself and are simply called this way by NVIDIA. Not that AMD doesn’t have them in their video cards, they just call them stream processors.
What is the difference? Apart from the fact that the NVIDIA CUDA cores are larger and run at a higher frequency than the AMD cores, the crucial difference for me is that the NVIDIA CUDA cores can be used for video rendering in Adobe Premiere Pro. Adobe is somehow using these CUDA cores on the video card to speed up rendering. Unfortunately, this is still not possible with AMD video cards, especially if you use Adobe Premiere Pro. As far as I understand other video processing software such as DaVinci Resolve this is not the case and there the resources of the video card are used to the maximum, not only for rendering but also for editing video. So the choice of video card for photo and video processing depends mainly on the software you will use.
In any case, I decided to look for a second-hand NVIDIA GEFORCE GTX 1070 8GB also because of its higher performance than the RADEON RX 580 8GB GTS. In general, the market is now flooded with used video cards from the people who gave up mining cryptocurrency. I can’t recommend buying such a video card, because they often are overclocked and work 24/7 without interruption for months. However, if it is not used a lot I do not think it is a big problem. My KFA2 NVIDIA GEFORCE GTX 1070 8GB which I found second-hand at the day of purchase on 15.03.18 was worth 170 USD with delivery included.
RAM: RAM ADATA XPG D10, 8GB DDR4, 3000 MHz, CL16 x 2
In my opinion, the next most important computer component for photo and video editing is the RAM memory. I was initially going for 32GB of memory, but after a little research, I decided to reduce it to 16GB. The main reason was the price – in the end, I was building a budget computer for photo and video editing. Thus, we save nearly 85 USD from the entire configuration.
The other reason was that for photo and video processing you need only as much RAM as to open all your programs at once and be able to easily switch between them without slowing down your computer. From my experience with the laptop, I noticed that 16GB of RAM is enough to open Adobe Premiere Pro, Adobe After Effects, and Photoshop plus some browser without reducing the performance of the computer. For me personally, this is enough for photo and video processing.
And last but not least the possibility of upgrading up to 32GB RAM, if necessary. It’s very easy to buy another 16GB of RAM and install them on the motherboard if it allows (I, of course, kept that in mind when choosing a motherboard).
The brand and speed was not important for me, I was just looking for the cheapest option available on the market right now – ADATA XPG D10, 8GB DDR4, 3000 MHz, CL16 x 2. The price of this RAM at the time of purchase (15/03/2020) was 86 USD with delivery included.
MOTHERBOARD: GIGABYTE B450 AORUS M, SOCKET AM4
The motherboard – to me, this component, when assembling a computer configuration, only plays a role for the future or in other words an upgrade. I mean you have to pick the bottom so that it supports all current technologies and most future ones that are coming out or are scheduled to go on the market. In this case, you will have the freedom to upgrade your computer, without incurring unnecessary costs and configuration changes.
Taking all this into consideration, my 3 main criteria for choosing a motherboard were:
- to be the cheapest option – as I said we are still assembling a budget configuration
- to support the next generation of AMD processors – this is where the upgrade part is extremely important. I had to pick the motherboard so that it would support the next 3XXX series of AMD processors if I decided to upgrade or there was a dramatic reduction in the cost of these processors and I decided to change it.
- more RAM slots – again with the basic idea of a future upgrade. The easiest thing is to just buy two more RAM “tiles” and install them on the motherboard.
With all this in mind, I purchased the GIGABYTE B450 AORUS M, SOCKET AM4 motherboard. This motherboard has everything I wrote above – it is cheap, supports the next generation of AMD processors and has 4 slots for RAM. In addition, there are some pretty good reviews on the internet and all the necessary outputs – USB 3.0, LAN, 5.1 Audio, etc. At the time of purchase (15/03/2020) this motherboard GIGABYTE B450 AORUS M, SOCKET AM4 costs 85 USD with delivery included.
SSD: HP EX900, 250GB, M.2 2280
Regarding the storage, I decided the following – to get a smaller SSD drive on which to install the operating system plus additional programs and a larger hard disk (HDD) for storing files. The main reason again was the price – SSD memory, although much cheaper in recent years still could not be compared to the price of hard drives (HDD). The other reason was that the storage space allocated in this way gives the most optimal performance. Programs and the operating system load super fast and at the same time you have huge disk space for storing files, and when you are dealing with photo and video editing you will certainly need it.
When choosing an SSD, the main criteria were – to be the cheapest I found and to be an NVMe M2 type, since the SATA SSDs have much slower speeds than the NVMe SSD. For comparison, the NVMe M2 SSD can reach up to 3,500 MB / s read speed, when the SATA SSD can get only – 530 MB / s read.
So the cheapest NVMe M2 SSD I found was the HP EX900, 250GB, M.2 2280. At the time of its purchase (15/03/2020) it cost exactly 40 USD with delivery included. The read speed of this SSD is 2,100 MB / s, which is not the best on the market but is still lightning fast. 250 GB space is enough for 1 operating system and countless programs. Personally, I use dozens of different photo and video processing programs that take up a lot of space and have never been able to exhaust it.
HARD DISK: HDD SEAGATE BARRACUDA 3.5'', 4TB, 5400 ОБ/МИН, 256MB, SATA3
The hard disk was the easiest part – the goal was the highest possible capacity at the lowest possible price, regardless of speed and brand. I chose the SEAGATE BARRACUDA 4TB because over the years I have bought a lot of external hard drives that I used to archive my photos and videos, and for the same price as the SEAGATE BARRACUDA 4TB an external hard drive will have a maximum of 2TB of memory. Which is normal because external hard drives have other components that make the product more expensive. In the end, twice as much space for the same amount of money seemed like a great offer. My other idea was to add more hard drives to the configuration when needed and use them for backup. And of course, I took this into account when choosing the computer case.
So the SEAGATE BARRACUDA 3.5 ”, 4TB on 15.03.20 cost me 100 USD with delivery included. Despite its slower rpm of 5400, it offers a good value for money. In my opinion, when you use disk space primarily for storing photo and video files, you do not need as much speed, and the difference between the 5400 rpm and 7200 rpm hard drives is not that noticeable. Of course, if you need speed you should go for SSD – the difference is huge already, but as I said, the price is still much higher.
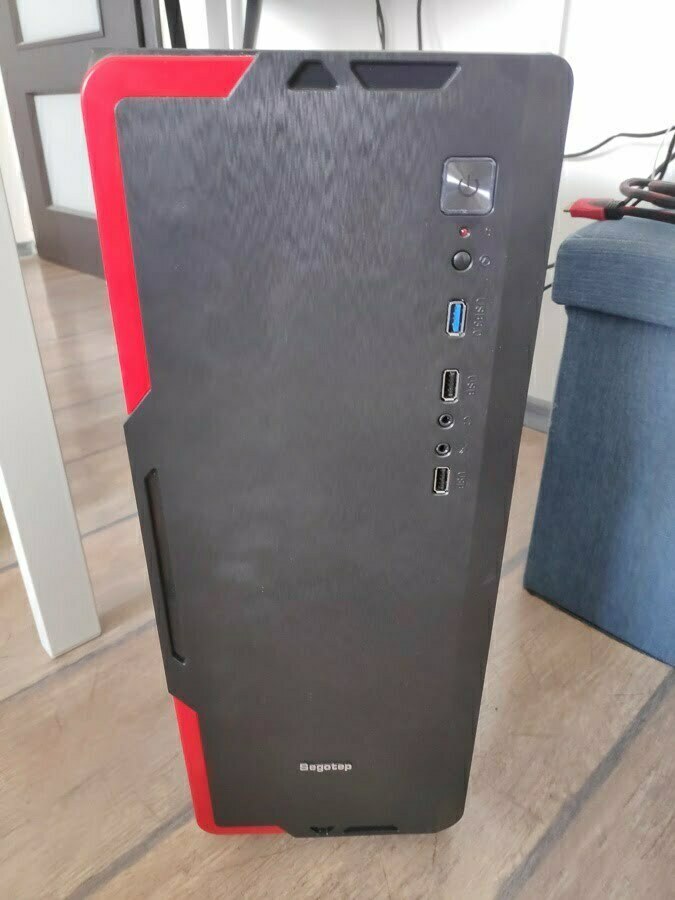
CASE: SEGOTEP HALO 3, MIDDLETOWER
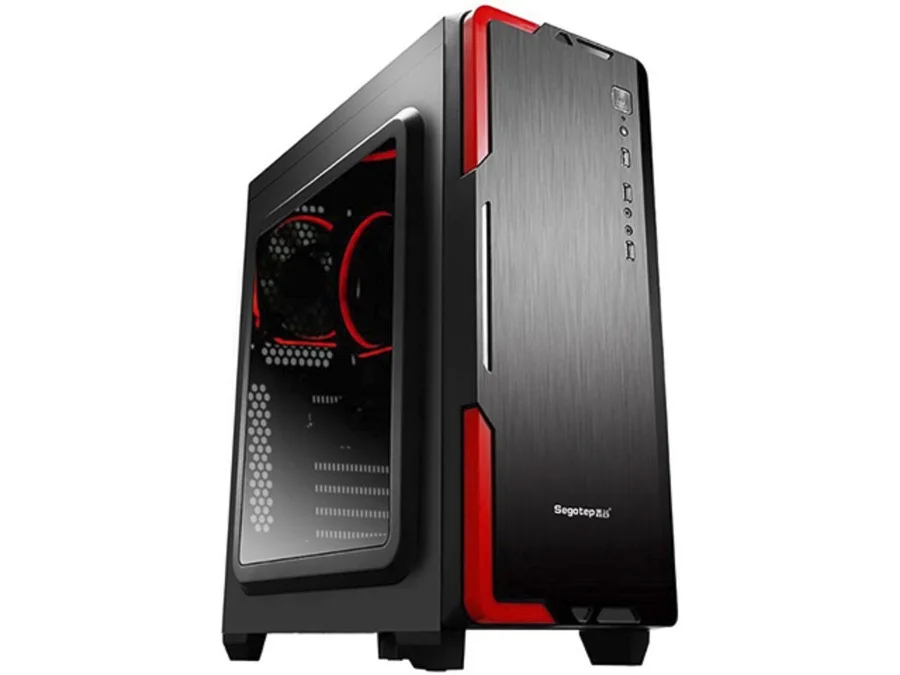
To be honest, in this part I deviated a little from the goal of budget PC configuration, but not by much. I wanted the computer case to have transparent plexiglass on one side, which in general is a little bit more expensive. If you are still looking for the cheapest option you will surely find a PC case at a better price than what I will suggest. Another important criterion was the case to have space for more 3.5″ hard drives, for a possible upgrade of the storage in the future.
The box I opted for is SEGOTEP HALO 3 MIDDLETOWER – at the time of purchase (15/03/20), its price was 34 USD with delivery included. As the box itself comes with 2 bonus fans (glowing in red), which also saves you money because you won’t have to buy extra. The box has 3 slots for 3.5″ hard drives and a transparent side – my two basic requirements, as well as all the other standard slots for every PC case. IMPORTANT: This box does not have a slot for an optical drive – CD-ROM, DVD etc. If you need one you have to look for another option, just in my case I never thought and planned to have one because I no longer use such technology.
POWER SUPPLY: SEGOTEP GTR-550, 550W, PFC ACTIV
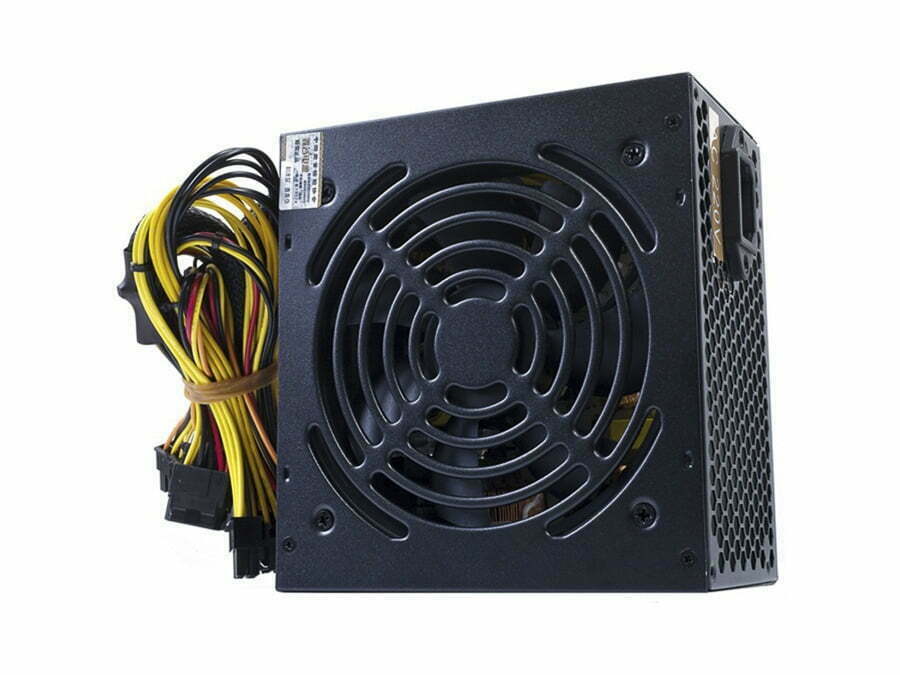
And last but not least – the power supply. It is very important here to calculate exactly how much power your configuration will need. There is a very good website for this purpose – https://pcpartpicker.com. There, in addition to being able to assemble an example computer configuration, you can also see watt consumption of all the components and choose the appropriate power supply. IMPORTANT: Keep in mind that this is an estimate. For your safety, choose a power supply that is at least 100 – 150 watts above what the website shows. This way, you will make sure that your power supply will take the power load of the entire computer configuration and maybe some upgrade in the future.
In my case, the approximate power of the photo and video editing configuration was about 400 – 450 watts. So I was looking for the most affordable 550W power supply. I came across the SEGOTEP GTR-550, 550W, PFC ACTIV. At the time of purchase (15/03/20), this power supply cost 34 USD. It has all the connectors you need for the above configuration, plus a few additional SATA hard drive connectors which will for a possible storage upgrade.
ADDITIONAL
I deliberately left the keyboard, mouse and monitor out of the total cost of the configuration, as in most cases people always have some keyboard and mouse leftover from an old computer, upgraded or as a gift from someone. In general, you have many options for these components and they are specific for your needs. The technologies have not changed much in regards to these components and you can get away with a second-hand option in this case. However, I will give you some variant that I have chosen as an example:
- Monitor – EIZO EV2316W – in my case, I decided to find a ised monitor because I didn’t have one. Fortunately, I found a pretty good deal on this second hand EIZO EV2316W monitor. I guess most of you will be asking why this particular brand because it’s not very popular. I’ll leave it to you to do your own research about this brand. I’m going to use one quote I saw in the web about EIZO – “the best monitor manufacturer in this part of the galaxy” 🙂 This is true especially when it comes to photo and video editing. Yes, it is an old model and not their highest class, but it still has incredible color rendition and extras that other brands have not even heard of. At the time of purchase (15/03/2020) the EIZO EV2316W cost me 65 USD including delivery.
- keyboard – here my only requirement was to have a low key profile, as this type of keyboard is more comfortable for me. I chose this – CANYON – CNS-HKB2-BG as a value for money option. At the time of purchase (15/03/2020) the price was 10 USD with delivery included.
- mouse – I had and old mouse from my old computer, but I will still give you a budget version – SERIOUX PASTEL 3300 wired mouse – at the moment (15/03/2020) the price is around 5 USD.
HOW TO BUILD A PC BY MYSELF?
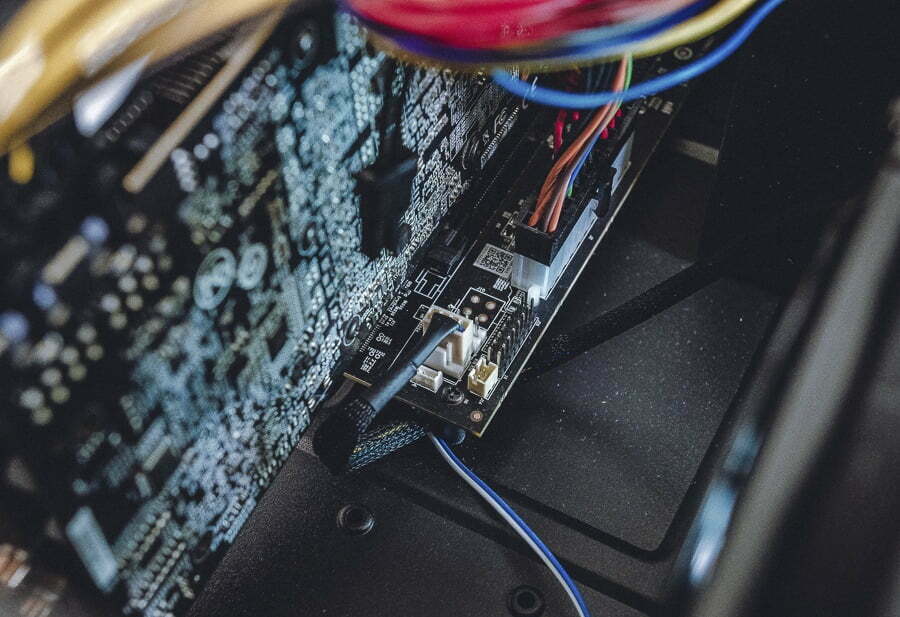
I guess this is the question you are asking yourself if you have read everything till this point. I would like to reassure you that the assembly of computers today is so simple that it reminds me of children’s construction game. With a little reading, knowledge and patience, absolutely anyone can build a computer configuration of their own for photo and 4K video editing. Initially, I was thinking of doing an article in the tutorials section on how to assemble a computer configuration yourself, but there are so many tutorials – videos and articles in the internet. Below, I will list some that will help you get an idea of how to assemble a computer:
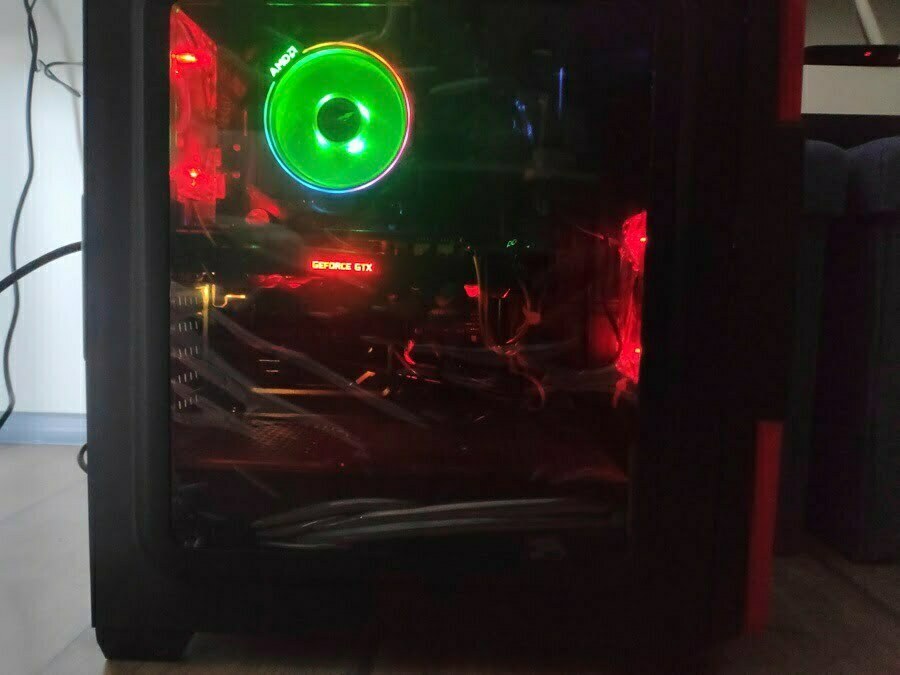
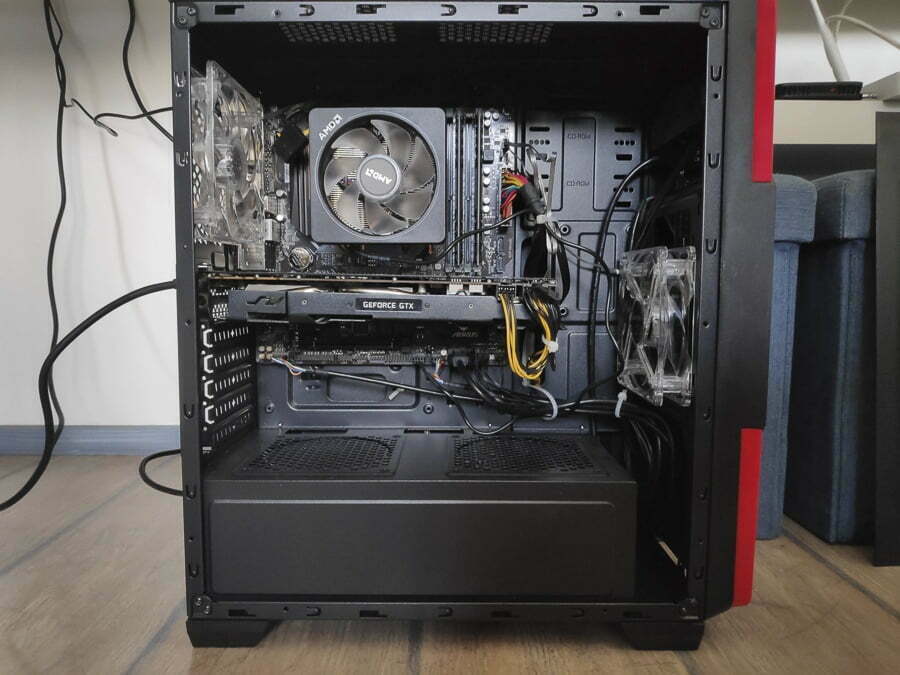
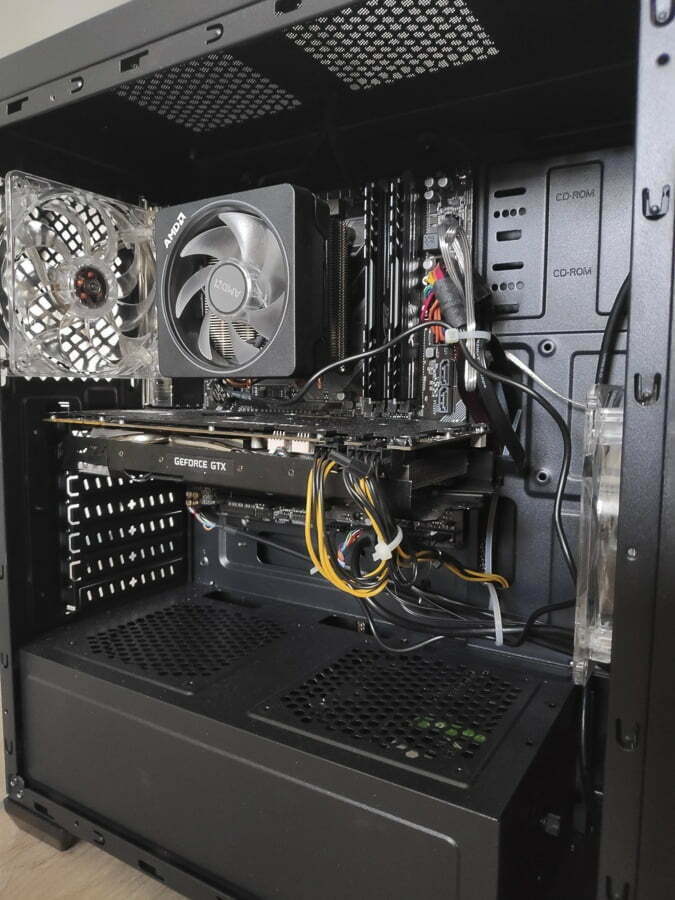
The most important thing is not to worry. I’m not much of a computer hardware specialist and this was my first computer build on my own. It’s not difficult at all, it just takes a little patience. And most importantly – you have all the information you need in internet! If you happen to be in trouble at some point, just search on Google or Youtube – surely someone else has encountered the same problem as you and has found the solution. Even I had a few situations where I needed help from Google 🙂 Here is my “masterpiece” after assembling all the components:
CONFIGURATION TEST AND REVIEW
After almost a month of using this computer configuration for photo and 4K video editing, I can say that it really can’t be compared to a laptop on any level. Everything so lightning fast. Of course, I keep in mind that this configuration is technically several generations ahead of my laptop. I tested this computer at the same time with Adobe Premiere Pro, Adobe Aftereffects and Adobe Photoshop, constantly editing things in all three programs with the dynamic link, and did not see any lag in editing or switching from one program to another. My fear that 16GB of RAM might not be enough was completely unfounded. With Adobe Premiere Pro, Adobe Aftereffects and Adobe Photoshop plus using several browsers, there are still about 6-7 GB of RAM left to use.
Scrubbing through 4K video is what affected my laptop the most. Now scrubbing a 4K video file in real-time at 1/2 resolution is without any delay and lag. Even with 1/1 full resolution, there is no problem at all. I guess it makes no sense to mention HD and FHD resolutions – but just in case you are wondering – there is no problem there either.
File rendering is also super fast. Using the video card and CUDA cores I mentioned above, the 1 minute 4K clip is rendered in the order of 5-10 seconds. And most importantly, even when rendering 40-50 clips, there is no overheating. With the laptop, this was a pretty serious problem for me.
Overall, I’m super pleased with this computer configuration for photo and 4K video editing. It will keep you up-to-date with the current state of the computer hardware and you will be insured in case you needed an upgrade later on.